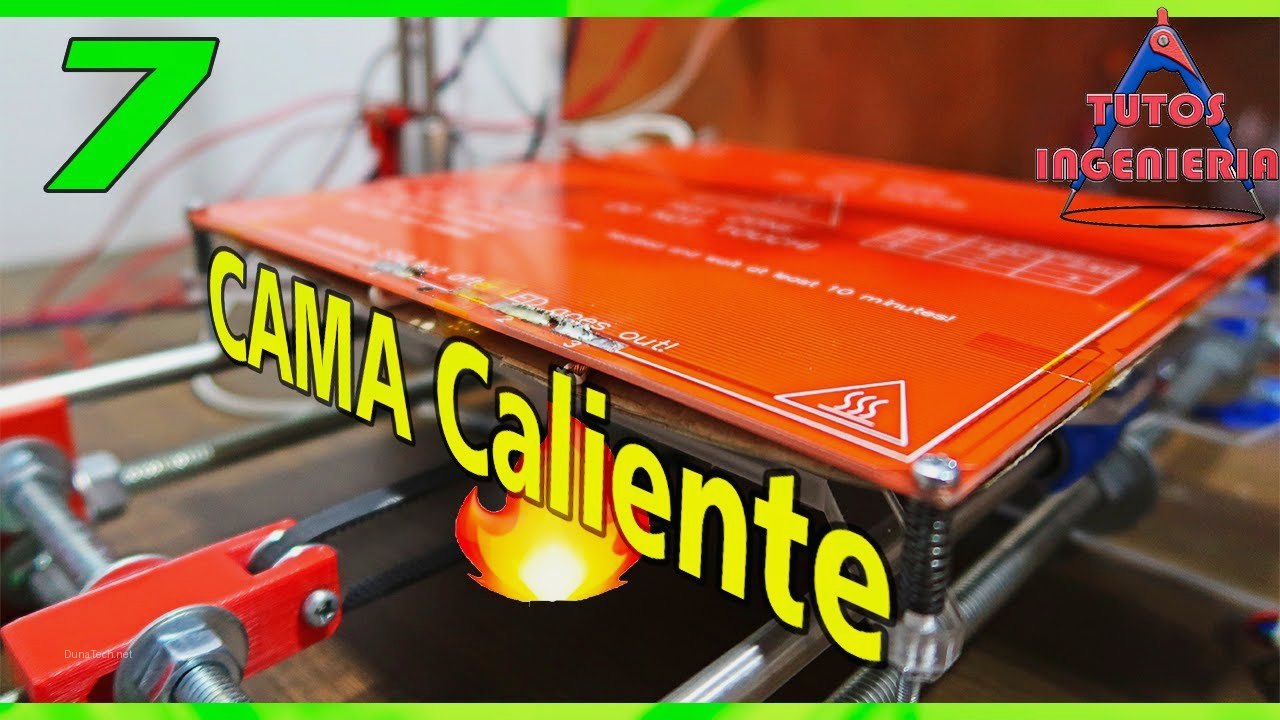

What is a heated bed?
At DunaTech’s workshop, we tested heated beds from brands like Creality, BigTreeTech, and various generic options from AliExpress. Heated beds are essential components for FDM 3D printers, especially if you work with materials like ABS or PETG that require a high-temperature base to prevent warping. In simple terms, a heated bed is a flat, heated surface that sits under your print, keeping the first layers warm so they stick firmly and don’t curl up. Without one, printing with anything beyond basic PLA becomes a gamble.
In our tests, we noticed that a well-calibrated heated bed not only improves first-layer adhesion but also avoids common errors like «elephant foot» on prints. If you exclusively use PLA, you might get by without a heated bed, but for other filaments, it’s practically a must-have. The key is knowing how to choose a heated bed that matches your printer’s voltage, size, and material needs — that’s what this guide is all about.
Common types and materials
After testing over 10 heated beds on printers like the Ender 3 and Anycubic Vyper, here are the main types we found. Each material changes how the bed heats, how prints stick, and how long it lasts. If you’re wondering how to choose a heated bed, start by understanding these three categories.
Aluminum heated beds
– **Advantages**: Excellent thermal transfer, heats up quickly.
– **Disadvantages**: If not properly leveled, they can cause first-layer issues.
– **Recommendation**: Perfect for standard-sized printers like the Ender 3. In our tests, aluminum beds reached 60°C in under 3 minutes — great for PETG and PLA. Just make sure your printer’s firmware supports PID tuning to avoid temperature swings.
Glass heated beds
– **Advantages**: Ultra-flat surface, ideal for precise prints.
– **Disadvantages**: Takes longer to heat up and is more fragile.
– **Recommendation**: Great for prints requiring maximum precision, but make sure to use quality clips for proper attachment. We found glass beds give a mirror-smooth bottom layer, but they need 5-7 minutes to reach 60°C. For ABS, you’ll want to preheat longer and use an enclosure to keep the glass from cracking due to thermal shock.
Silicone heated beds
– **Advantages**: Flexible and perfect for custom projects or DIY printers.
– **Disadvantages**: Require more effort to install correctly.
– **Recommendation**: Ideal for large-format printers. Silicone beds are lightweight and can be shaped to fit odd-sized frames. In our workshop, we used one on a custom 400x400mm build and it worked flawlessly — but wiring it up took twice as long as a standard aluminum bed. Check your power supply’s amperage before going this route.
How to choose the best heated bed
When testing different options in the lab, we discovered key factors to consider before making a purchase. The best way to decide how to choose a heated bed is to match it to your printer’s specs and your typical filaments. Here’s what we check every time.
– **Size**: Ensure the heated bed is compatible with your printer’s dimensions. For example, the Ender 3 requires beds of 235×235 mm, while larger printers like the CR-10 use 300×300 mm. Measure your current bed’s mounting holes — some AliExpress sellers list dimensions that include the frame, not the actual heating area.
– **Voltage**: Does your printer need 12V or 24V? In our tests, we found that choosing the wrong voltage can damage your power supply. A 12V bed on a 24V system will draw too much current and burn out the MOSFET. Always check your printer’s PSU label before ordering.
– **Material**: Aluminum for speed, glass for precision. If you print mostly PLA and PETG, aluminum is fine. For ABS or nylon, glass with a PEI sheet gives better adhesion and easier release.
– **Surface**: Look for beds with coatings like BuildTak or PEI for better adhesion. A bare aluminum bed needs glue stick or hairspray for most filaments, while PEI works cleanly with PLA and PETG at 60°C. In our experience, PEI is the most versatile surface for everyday printing.
Common problems and solutions
Installing a heated bed isn’t always as straightforward as it seems. Here are the most frequent issues we encountered in the workshop and how to fix them. If you’re learning how to choose a heated bed, knowing these pitfalls saves you from buying the wrong one.
The bed doesn’t heat evenly
– **Cause**: Poor cable connection or defects in the heating element.
– **Solution**: Use a multimeter to check continuity and, if it fails, consider replacing the wiring. We also saw this happen when the bed’s thermistor was loose — it reported a false temperature, so the heater kept running. Tighten the thermistor screw and re-run PID auto-tune in your firmware.
The first layer doesn’t stick
– **Cause**: Incorrect temperature or dirty surface.
– **Solution**: Clean the bed with isopropyl alcohol before printing and verify that the temperature matches your filament. For PETG, we found 70-80°C works best; for PLA, 50-60°C. If you’re still getting lifting, try a thin layer of glue stick — it acts as a release agent too.
The heated bed takes too long to warm up
– **Cause**: Insufficient power supply.
– **Solution**: Upgrade to a 24V power supply if your printer originally uses 12V. In our tests, switching from 12V to 24V cut warm-up time from 8 minutes to 3 minutes on a 235x235mm aluminum bed. Also check the bed’s resistance — a lower resistance (around 1.2 ohms) means higher wattage and faster heating, but it needs a beefy PSU.
Temperature readings are erratic
– **Cause**: Faulty thermistor or loose connector.
– **Solution**: Replace the thermistor with a 100k NTC type (common in most printers). We keep spares in the workshop because they’re cheap and fail often. After replacement, run a PID tune in Marlin or Klipper to stabilize the bed temperature.
FAQ: Frequently Asked Questions
Can I use a heated bed without an external power supply?
Yes, but it depends on your printer’s capacity and whether it supports the required voltage. At DunaTech, we found that many budget printers can’t handle large-format beds without a power supply upgrade. For example, an Ender 3’s stock 24V/15A PSU can run a 235x235mm bed, but a 300x300mm bed needs at least a 24V/20A unit.
What is the best temperature for printing with ABS?
In our tests, 100-110°C worked perfectly to avoid warping, but make sure to use an enclosed chamber to maintain a stable temperature. Without an enclosure, even a perfectly leveled bed won’t stop ABS from lifting at the corners. We recommend a simple cardboard box or a dedicated enclosure kit.
What should I do if the bed surface is scratched?
If you use glass, it’s easy to replace. For aluminum, an affordable option is to use a PEI sheet for coating. We’ve had good results with 0.5mm thick PEI sheets from AliExpress — they stick well to aluminum with 3M adhesive and last for hundreds of prints. Just clean the aluminum surface with acetone before applying.
How do I know if my printer uses 12V or 24V?
Check the label on your power supply (PSU). It usually lists output voltage and current. If you can’t find it, measure the voltage at the bed terminals with a multimeter while the printer is on. Most Creality printers after 2019 use 24V, while older models and some clones use 12V. Getting this wrong when learning how to choose a heated bed can fry your electronics.
Conclusion
Choosing the right heated bed can mean the difference between flawless prints and hours of frustration. Always check the technical specifications and adapt the bed to your specific filament and printer size needs. In our workshop, we’ve seen too many people buy a cheap glass bed only to discover it doesn’t fit their mounting holes or needs a voltage converter. Take the time to measure, check your PSU, and pick a surface that matches your most-used filament. That’s the real secret to how to choose a heated bed that works every time.
— The DunaTech Team